This process involves the management of the physical floors being used for desk management within FAST. It involves adding, deleting, or editing of floors based on changes to the actual floor plan.
When an entirely new floor plan and set of desks need to be added to FAST, a new floor map must be uploaded to FAST. This function can be performed by an administrator. To add a new floor map, take the following steps:
- Log in to your FAST account.
- Go to Admin > Floor Management. You will be redirected to the Manage Floor(s) page.

- Click Add New.

- Enter the name of the floor, upload the map, then click the Submit button.
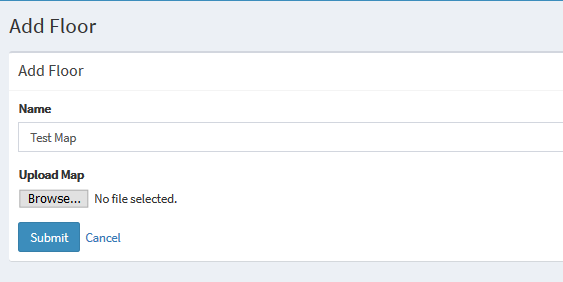
The new floor map is now added to the list.
This function can be performed by an administrator. To delete a floor map, take the following steps:
- Log in to your FAST account.
- Go to Admin > Floor Management. You will be redirected to Manage Floor(s) page.
- Proceed below based on the desired option:
- Click the Edit icon for the floor that you want to amend.

- If you want to upload a new map, click the Browse button then select the map from your file. Click the Submit button to upload the new map.

Note: You may also change the name of the map by typing it in the Name field.
- Click the Delete icon of the map that you want to remove.

- A dialog box shall be displayed to confirm the deletion, click OK.
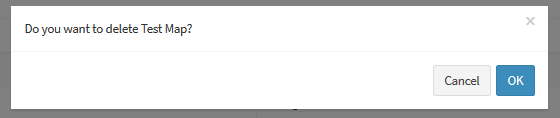
- A confirmation message shall appear on the side of the screen. The floor map is now removed from the system.
- Click the Edit icon for the floor that you want to amend.