Lookup Management is an admin function that determines the content, sorting order, and default values for specific drop-down modules within FAST.
To add a new value to the lookup table, take the following steps.
- Log in to your FAST account.
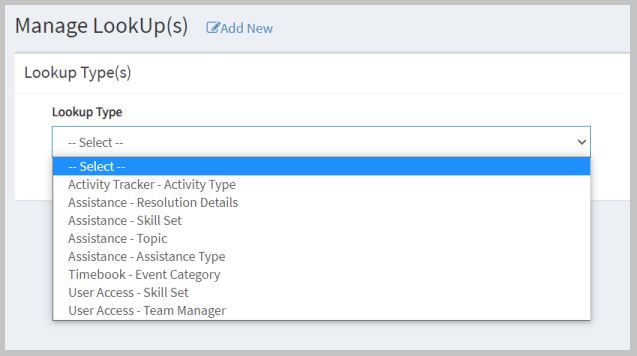
- Go to Admin > Lookup Management. The Manage LookUp(s) page shall be displayed.

- Activity Tracker - Activity Type - Drop-down from the Activity tracker.
- Assistance - Resolution Details - Drop-down from Assistance form.
- Assistance - Skill Set - Drop-down from the Assistance form.
- Assistance - Topic - Drop-down from the Assistance Topic.
- Assistance - Assistance Type - Drop-down from the Assistance form.
- Timebook - Event Category - Drop-down from the Timebooking options.
- User Access - Skill Set - Drop-down from the Skill Set contained within User Access.
- User Access - Team Manager - Drop-down from the User Access Team Manager contained within the User Access module.
NOTE: The team manager list in the Lookup Manager will automatically populate with the team managers from azure.
- Activity Tracker - Activity Type - Drop-down from the Activity tracker.
- Select a lookup type from the drop-down.
- Click Add New to add new value to the table.

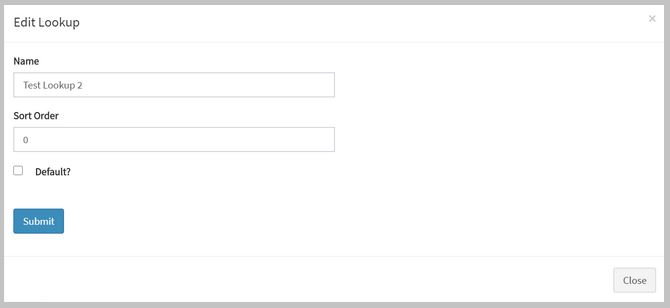
- Enter the Name and Sort Oder number of the lookup then click Submit.

NOTE: Name is the field name and what is displayed in the drop-down. Sort order is what determines the order of the values in the dropdown; it is important to make sure that the number is chronological. If the new value needs to be added to anywhere other than the bottom of the dropdown, the sort order number will need to be changed for the rest of the lookup values in this table.
- The new lookup value has been added.

- Log in to your FAST account.
- Go to Admin > Lookup Management. The Manage LookUp(s) page shall be displayed.
- Choose the lookup type that you want to edit from the drop-down menu
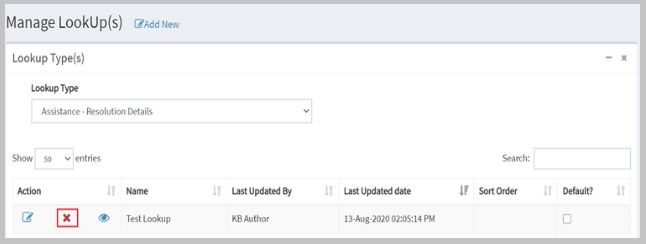
- Click the Edit button of the item that you want to amend from the list.

- Make the necessary edits; you can change the Name of the lookup as well as the Sort Order. Click Submit to save changes.
NOTE: When changing the Sort Order, ensure that you also update the numbers of the rest of the items in the list to avoid duplicates.
- Log in to your FAST account.
- Go to Admin > Lookup Management. The Manage LookUp(s) page shall be displayed.
- Choose the lookup type that you want to edit from the drop-down menu
- Click the x button for the item that you want to remove from the list.
- Click the OK button to confirm the deletion.
NOTE: The change is live, once you delete the value from the list, it will affect all users on the site.
Follow these steps to set up a default value in the lookup management:
- Log in to your FAST account.
- Go to Admin > Lookup Management. The Manage LookUp(s) page shall be displayed.
- Select a lookup type in the drop-down menu.
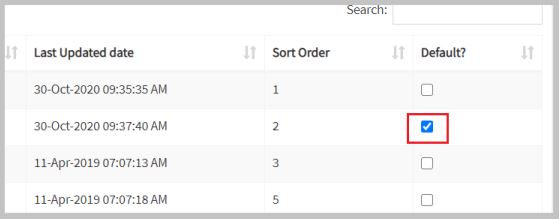
- Tick the value that you want to have as a default value.

This will cause the selected value to be automatically selected when a user accesses a page with the drop-down in it e.g. Creating an assistance request.
NOTE: Multiple selections is not allowed. An error message shall appear if you tick more than one lookup.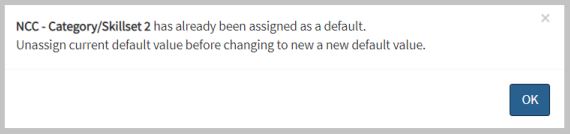
- If you want to set another value as the default value, deselect the current value first then a confirmation message will be displayed.
- Tick the lookup that you want to set as a default under the Default? column. A confirmation message shall be displayed that the default value has been updated.